
Set up the calibration board
Use this page to pick, measure and describe the board. You need a printed board or a monitor.
You get the board: block every later step uses.
Hands on: you leave this page with a board: block (and, if you have one, a heights file).
Step 2 records with that board.
Step 3 puts the block in its config.
1. Pick a board type
Section titled “1. Pick a board type”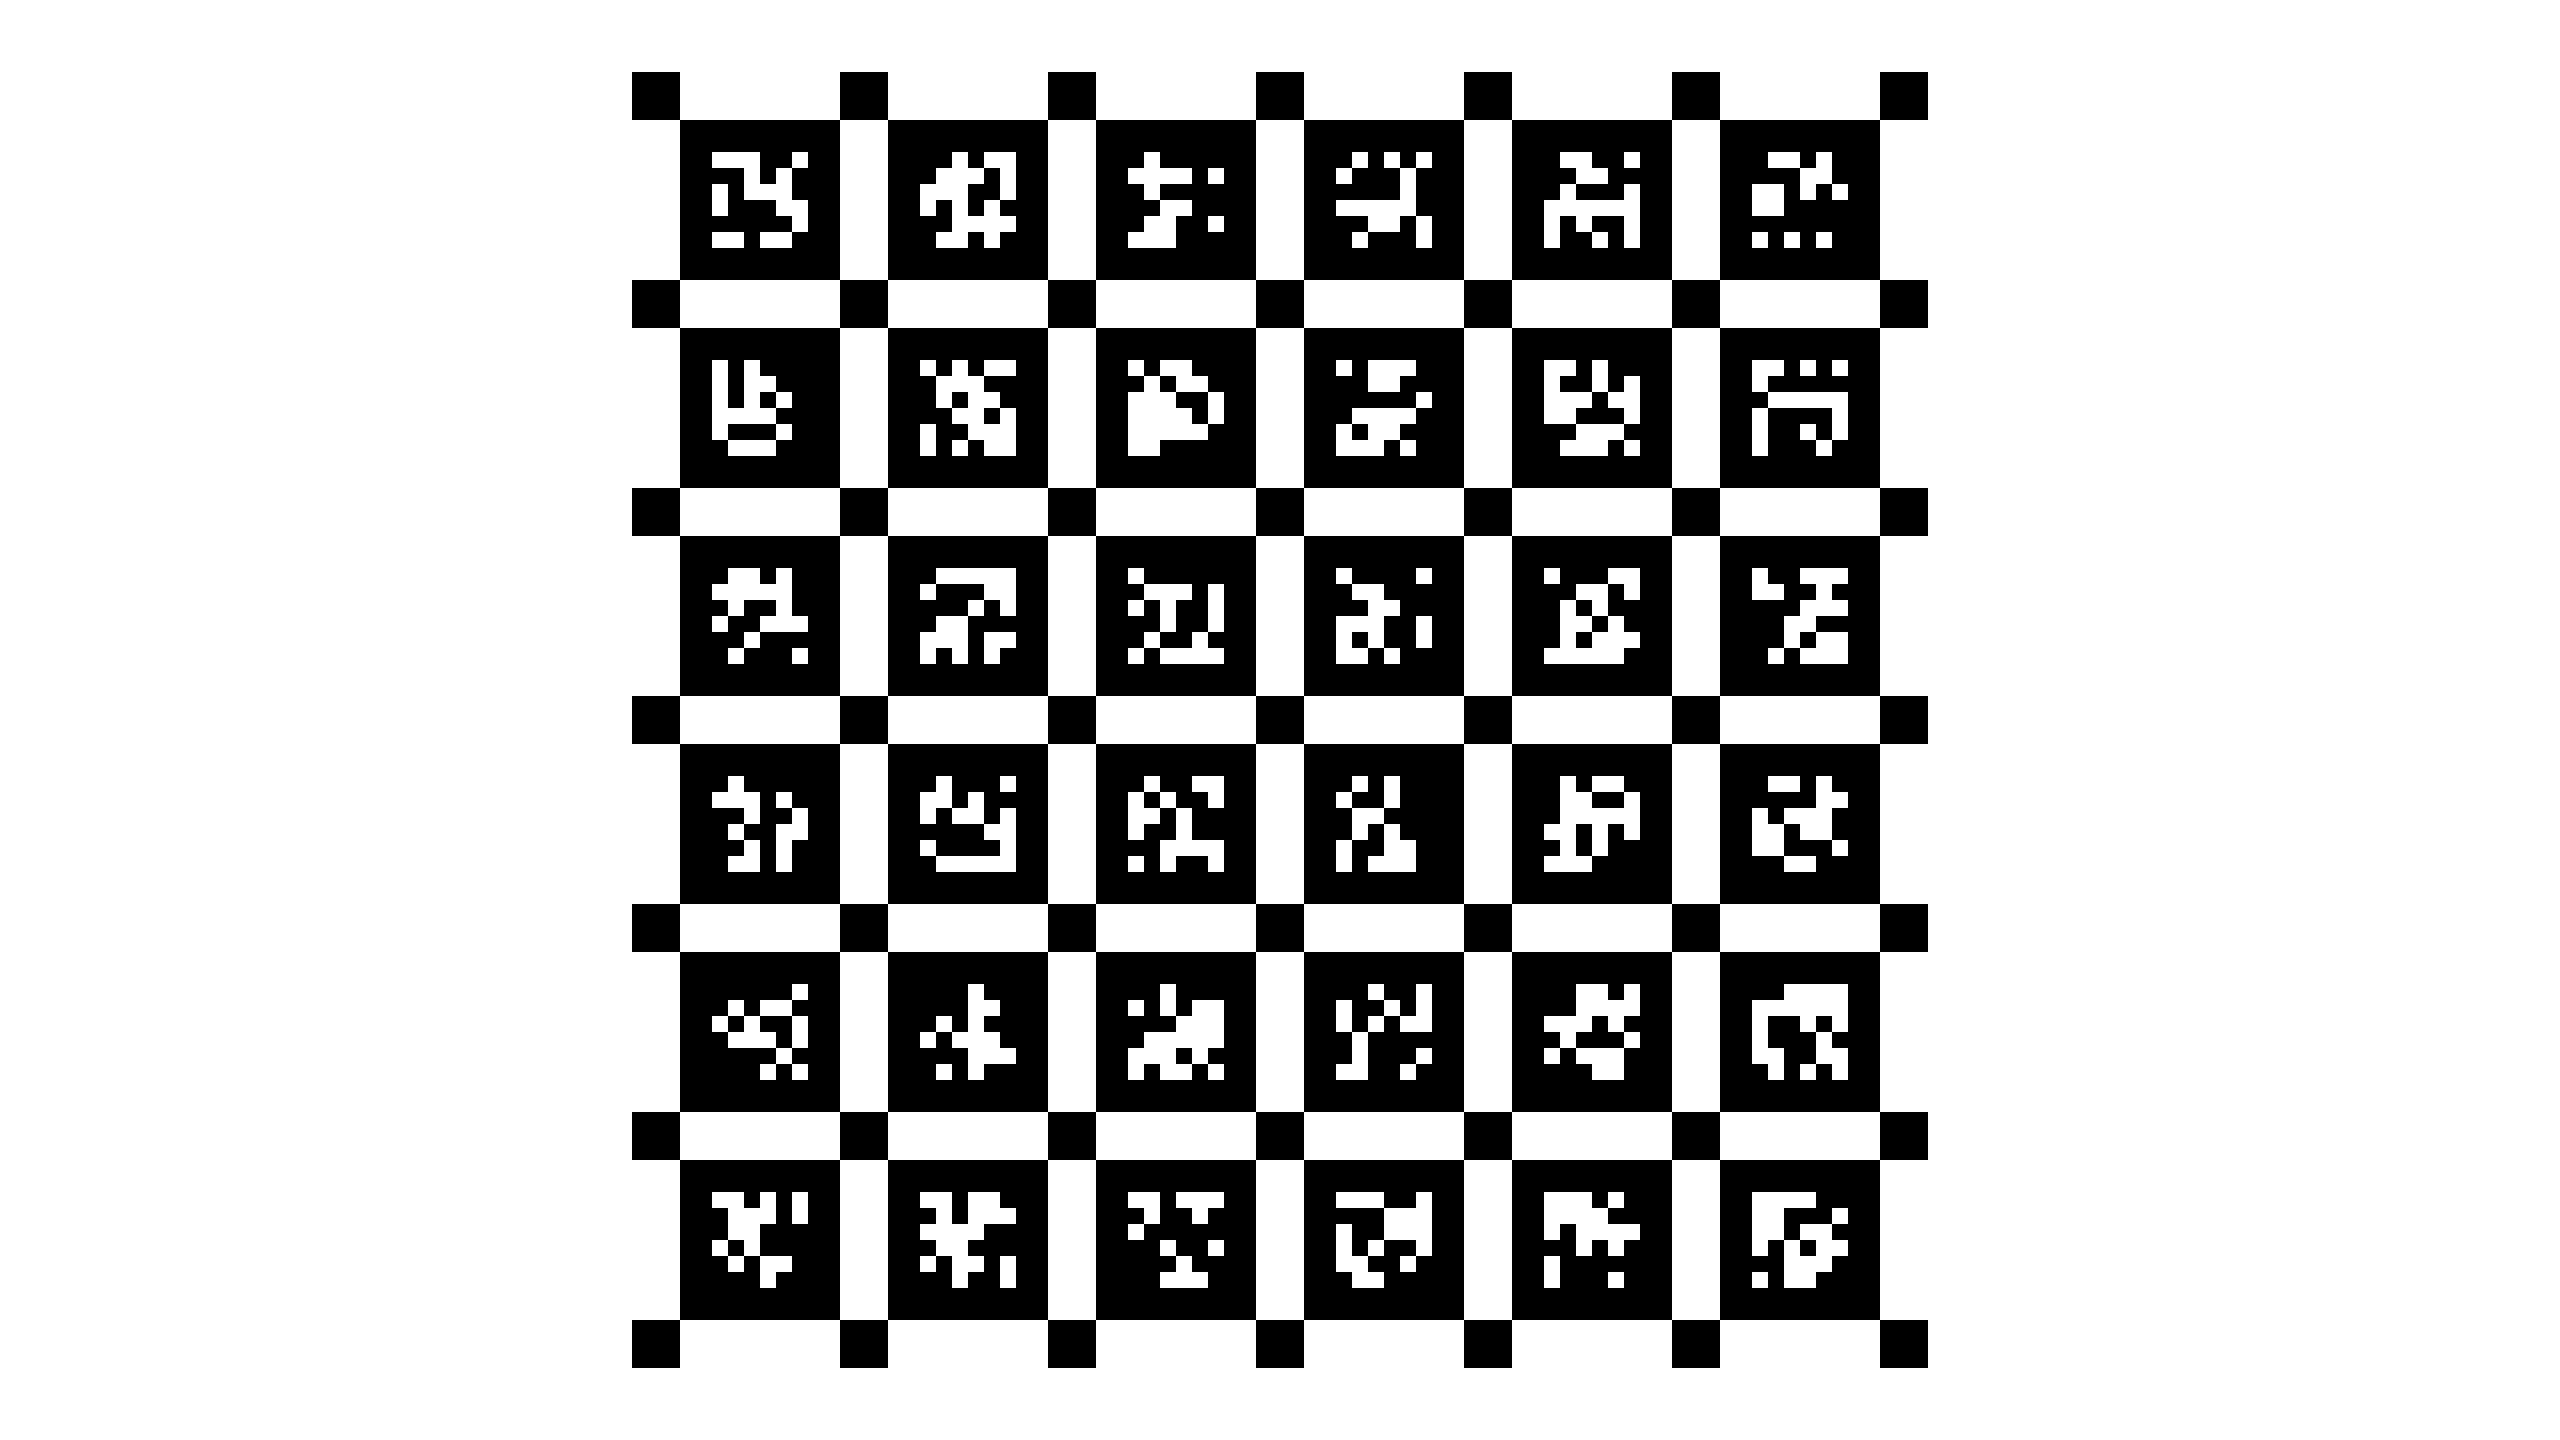
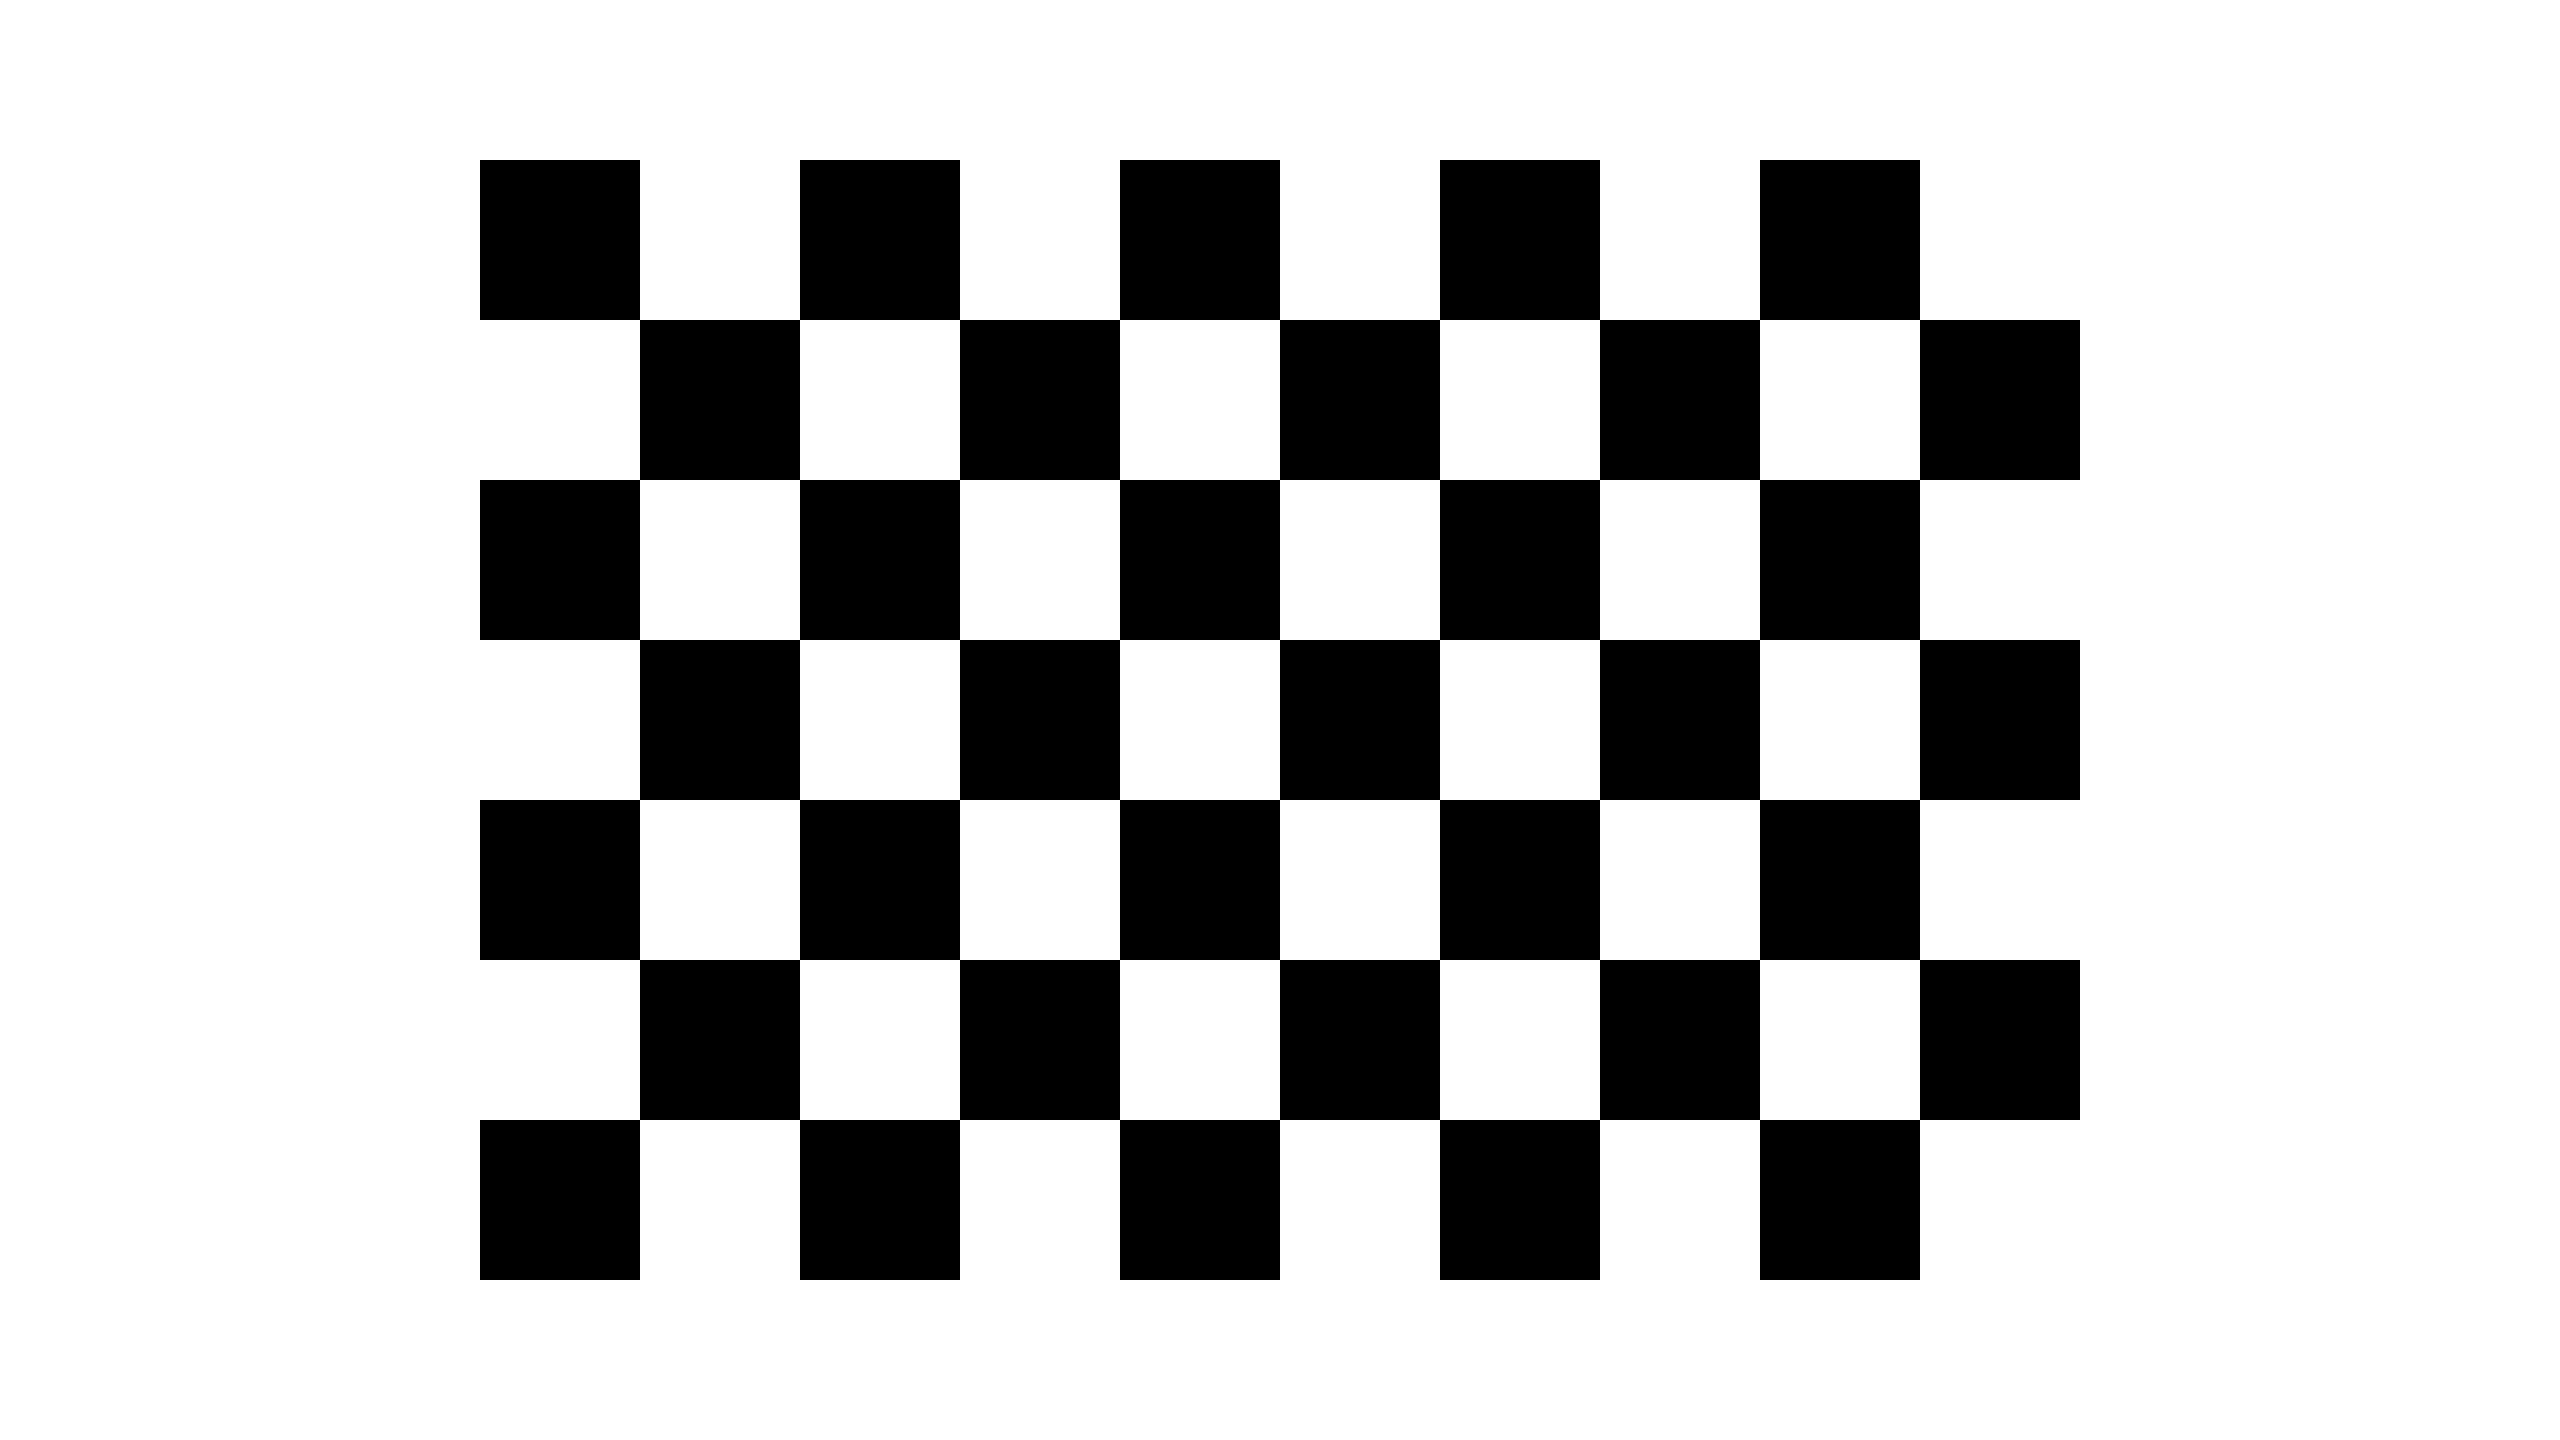
These are the two boards we used to record the calibration motion. Both are in section 5 as images and configs. Pick one. Each needs these fields in the config:
| Board | board_type | Required fields |
|---|---|---|
| AprilGrid | apriltag | rows, cols, tag_size (m), tag_spacing (ratio), tag_family |
| Chessboard | chessboard | rows, cols (inner corners), square_size (m) |
- AprilGrid follows the Kalibr 2-bit border convention.
- Kalibr target YAML: MVIS can read one in Python (
AprilTagBoard.from_kalibr_yaml). No config key points at a Kalibr file, so write theboard:block yourself.
2. The board in the running example
Section titled “2. The board in the running example”The VI-Rig recordings use a printed AprilGrid:
- Grid: 6 × 6 tags, family t36h11
- Tag: 0.088 m, edge to edge
- Spacing: 0.3, the ratio of the gap to the tag
Its Kalibr file, april.yaml, is on the Hub next to the bags. It says target_type: 'aprilgrid',
tagCols: 6, tagRows: 6, tagSize: 0.088, tagSpacing: 0.3.
The same board in MVIS:
board: board_type: apriltag rows: 6 cols: 6 tag_size: 0.088 tag_spacing: 0.3 tag_family: t36h113. Measure what you printed
Section titled “3. Measure what you printed”4. A board is never flat
Section titled “4. A board is never flat”A printed board bends and twists a little. A solve that assumes it is flat pushes that error into the calibration.
The VI-Rig board, estimated from the camera residuals:
- Out of plane: 10–11 mm peak to peak, 2.3–2.4 mm rms.
- Example run: the 4 IMUs + 4 cameras example re-estimates it at 2.21 mm rms and 8.94 mm peak to peak.
- Effect: estimating the shape cut the camera-only residual by 30–45 %. On the ELP left camera alone, 0.771 px became 0.430 px.
Turn it on with one key. MVIS then solves one height per corner, in camera-only and camera–IMU runs:
board: # ... the fields above ... heights_file: board_shape_4imus_4cams.yaml # optional start values, from an earlier runestimate: board_points: trueestimate.board_points: true: solve the board shape with everything else.board.heights_file: optional. The heights start from this file, or flat without it. A camera–IMU run writes its estimate next to its output as<output>_board_shape.yaml, which you can use here. The example’sboard_shape_4imus_4cams.yamlis such an earlier estimate of the VI-Rig board.- Prior: each height has a weak prior of 3 mm (solver default
board_height_sigma: 0.003, in m).
We turn it on for every VI-Rig solve.
5. No printer? Use a screen board
Section titled “5. No printer? Use a screen board”You can show the board on a monitor instead. We made two full-screen images for a 2560 × 1440 monitor, with configs for MVIS and Kalibr:
| Board | Size | Downloads |
|---|---|---|
| AprilGrid 6 × 6 | tag36h11, tag 43.47 mm, spacing 0.3 | image (PNG, 75 KB) · MVIS config · Kalibr config |
| Chessboard 10 × 7 squares | 9 × 6 inner corners, square 43.47 mm | image (PNG, 30 KB) · MVIS config · Kalibr config |
How to show them:
- Open the image full screen at 100 % on a 2560 × 1440 monitor.
- Use no display scaling and no zoom, so one image pixel is one screen pixel.
On our monitor 160 px (one tag, one square) measure 43.47 mm, the size in the configs. On another screen, measure one tag or square with a ruler. Put that size in the config:
- MVIS:
tag_size/square_size - Kalibr:
tagSize/rowSpacingMetersandcolSpacingMeters
Setup:
- Board upright and flat.
- Enough light for a short exposure (about 2 ms).
Step 2: record the dataset. It shows how to move the rig in front of the board.