
Calibration motion
Use this page to plan how you move the rig for a camera–IMU calibration. You need a board on a screen and a rig with cameras and an IMU (inertial measurement unit: gyroscope and accelerometer).
A calibration can only find what the motion shows it. Our 60 s motion below excites every axis. It also sweeps the board across the whole image.
We built it from a real hand-held recording with our Looper Insight 9. We checked it with a noisy digital twin. The twin:
- simulates the recording;
- solves it;
- compares the result with the truth.
A motion is good if the twin still converges on every calibration parameter. Converges means the solve settles on a value.
1. Set up the board
Section titled “1. Set up the board”Pick your board first. Each board has its own motion:
- AprilGrid: the main motion is built for it. It may run partly off the edge of the picture.
- Chessboard: it is only detected with every corner in the picture. So it has its own, smaller motion (see step 2).
Both boards are full-screen images for a 2560 × 1440 monitor, with configs for MVIS and Kalibr.
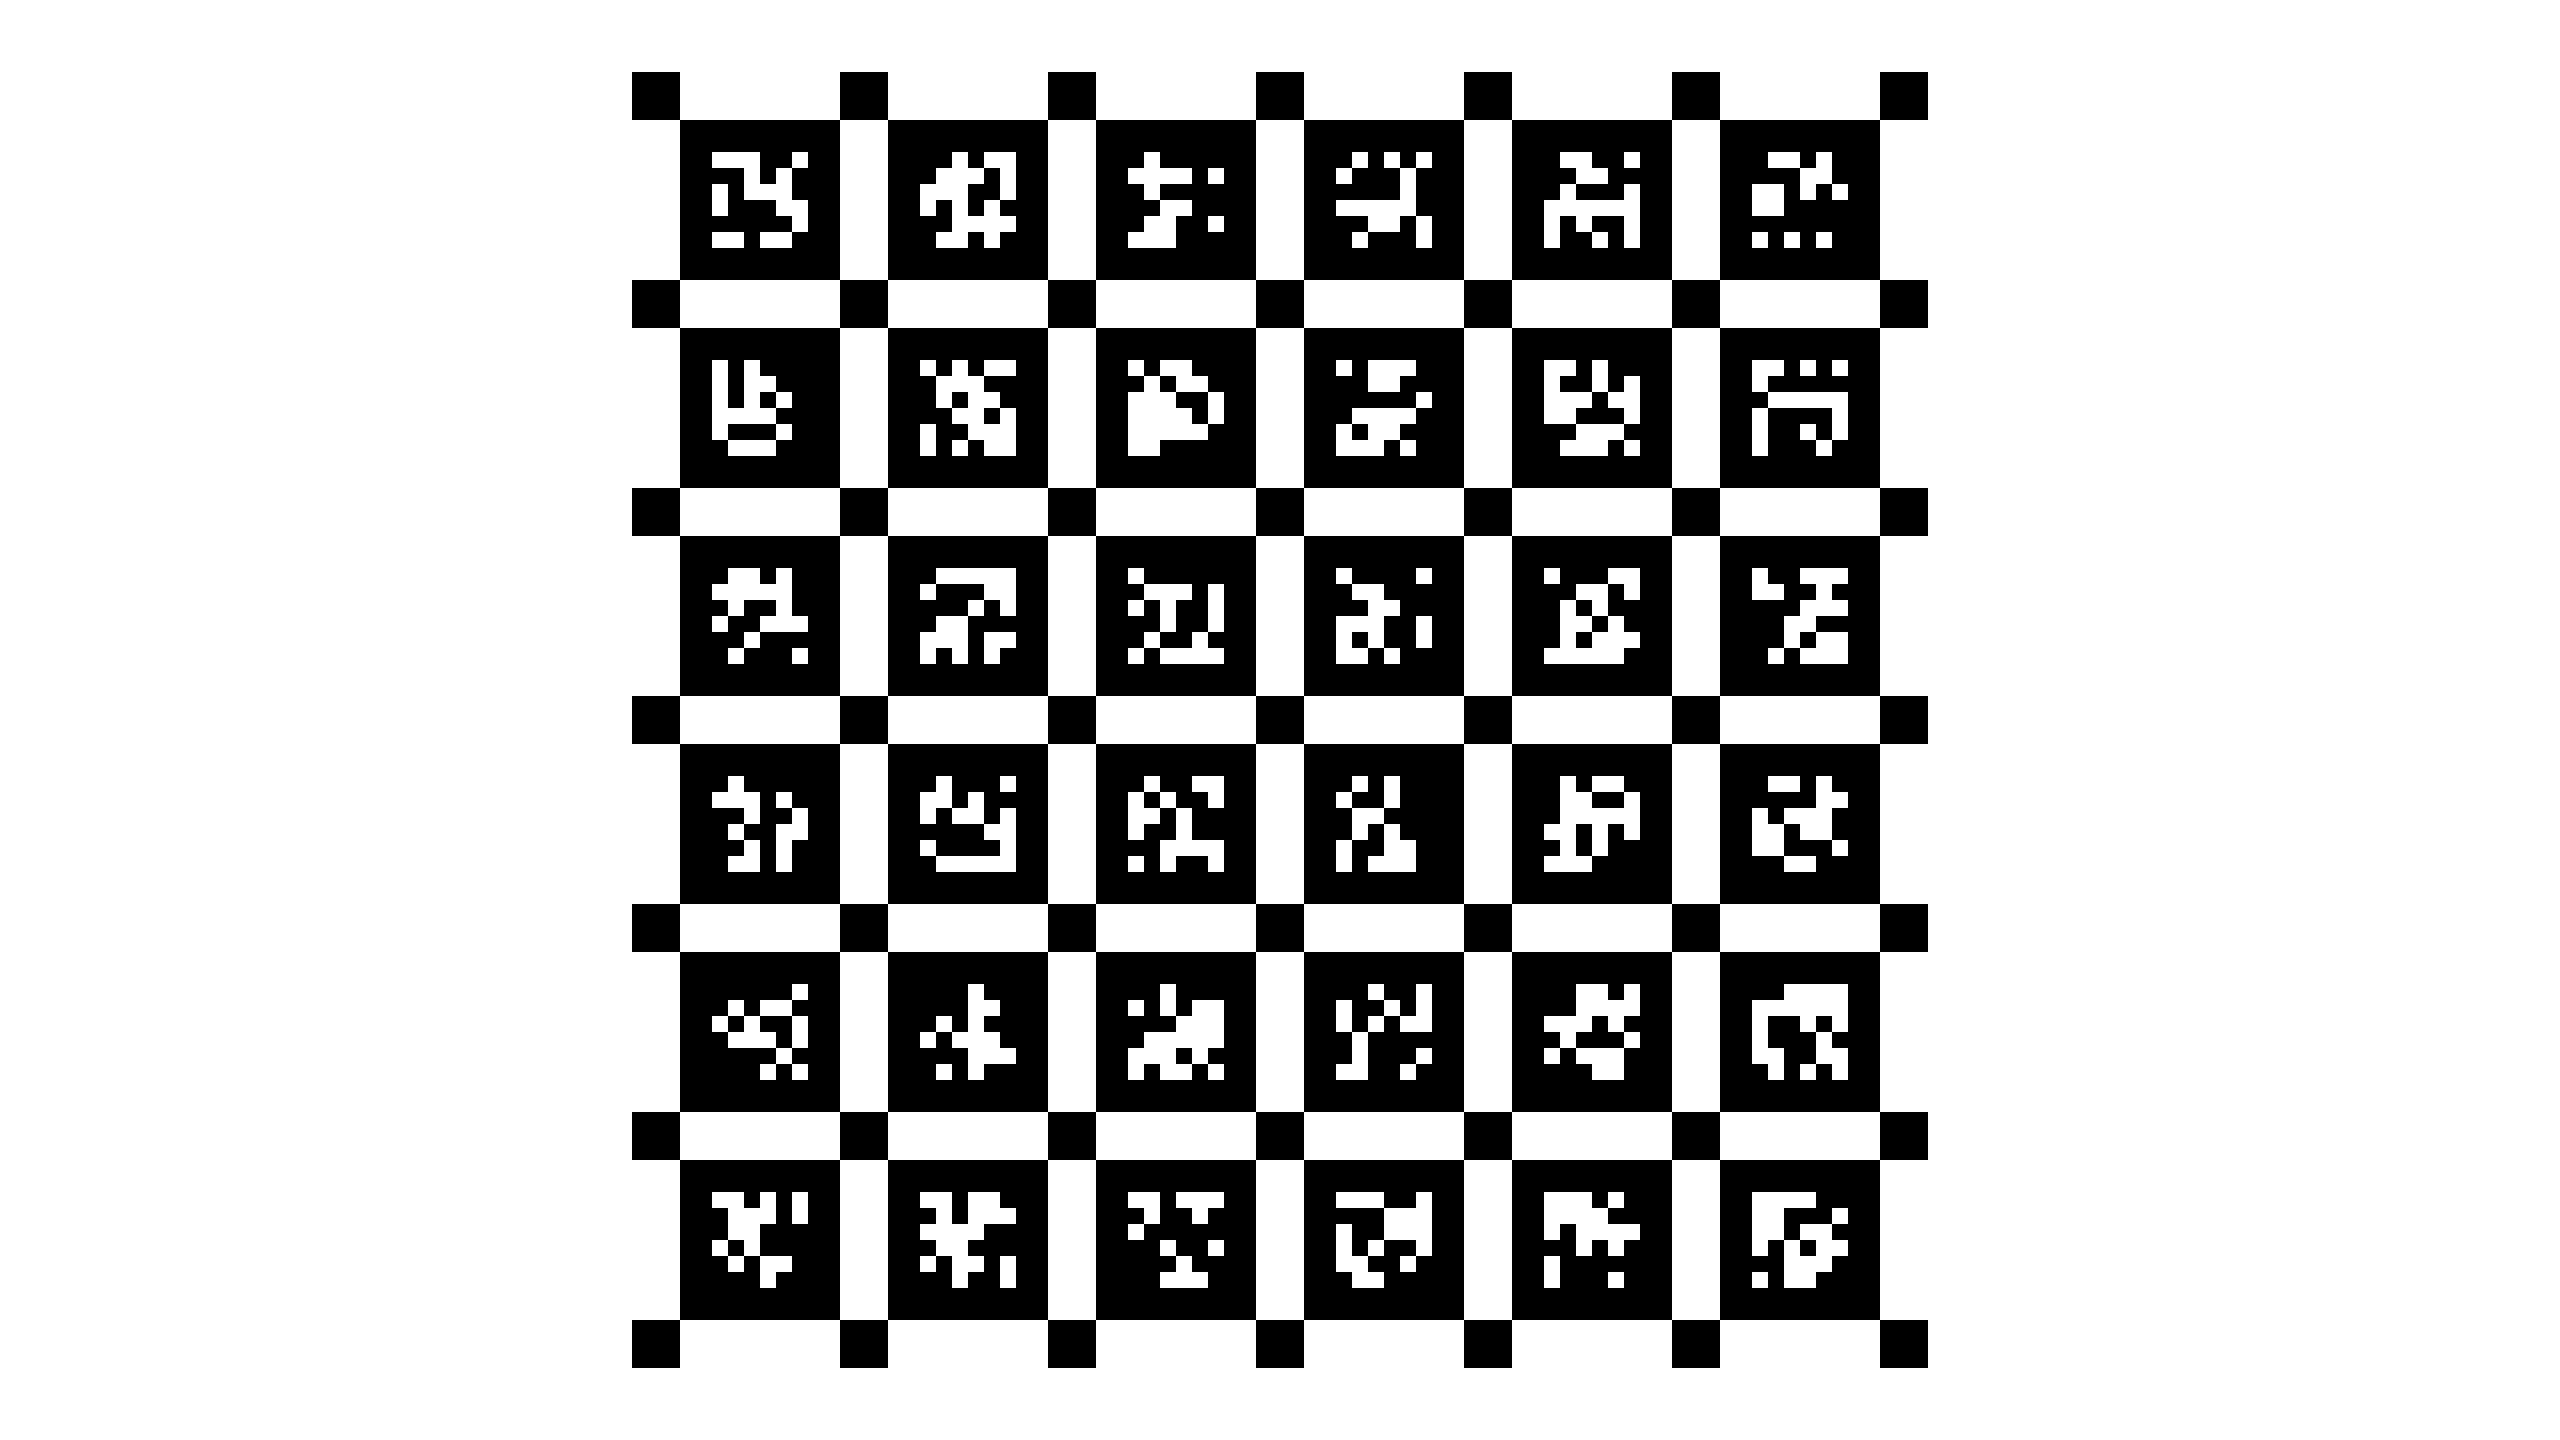
AprilGrid 6 × 6 (tag36h11, tag 43.47 mm, spacing 0.3)
image (PNG, 75 KB) ·
MVIS config ·
Kalibr config (YAML, under 1 KB)
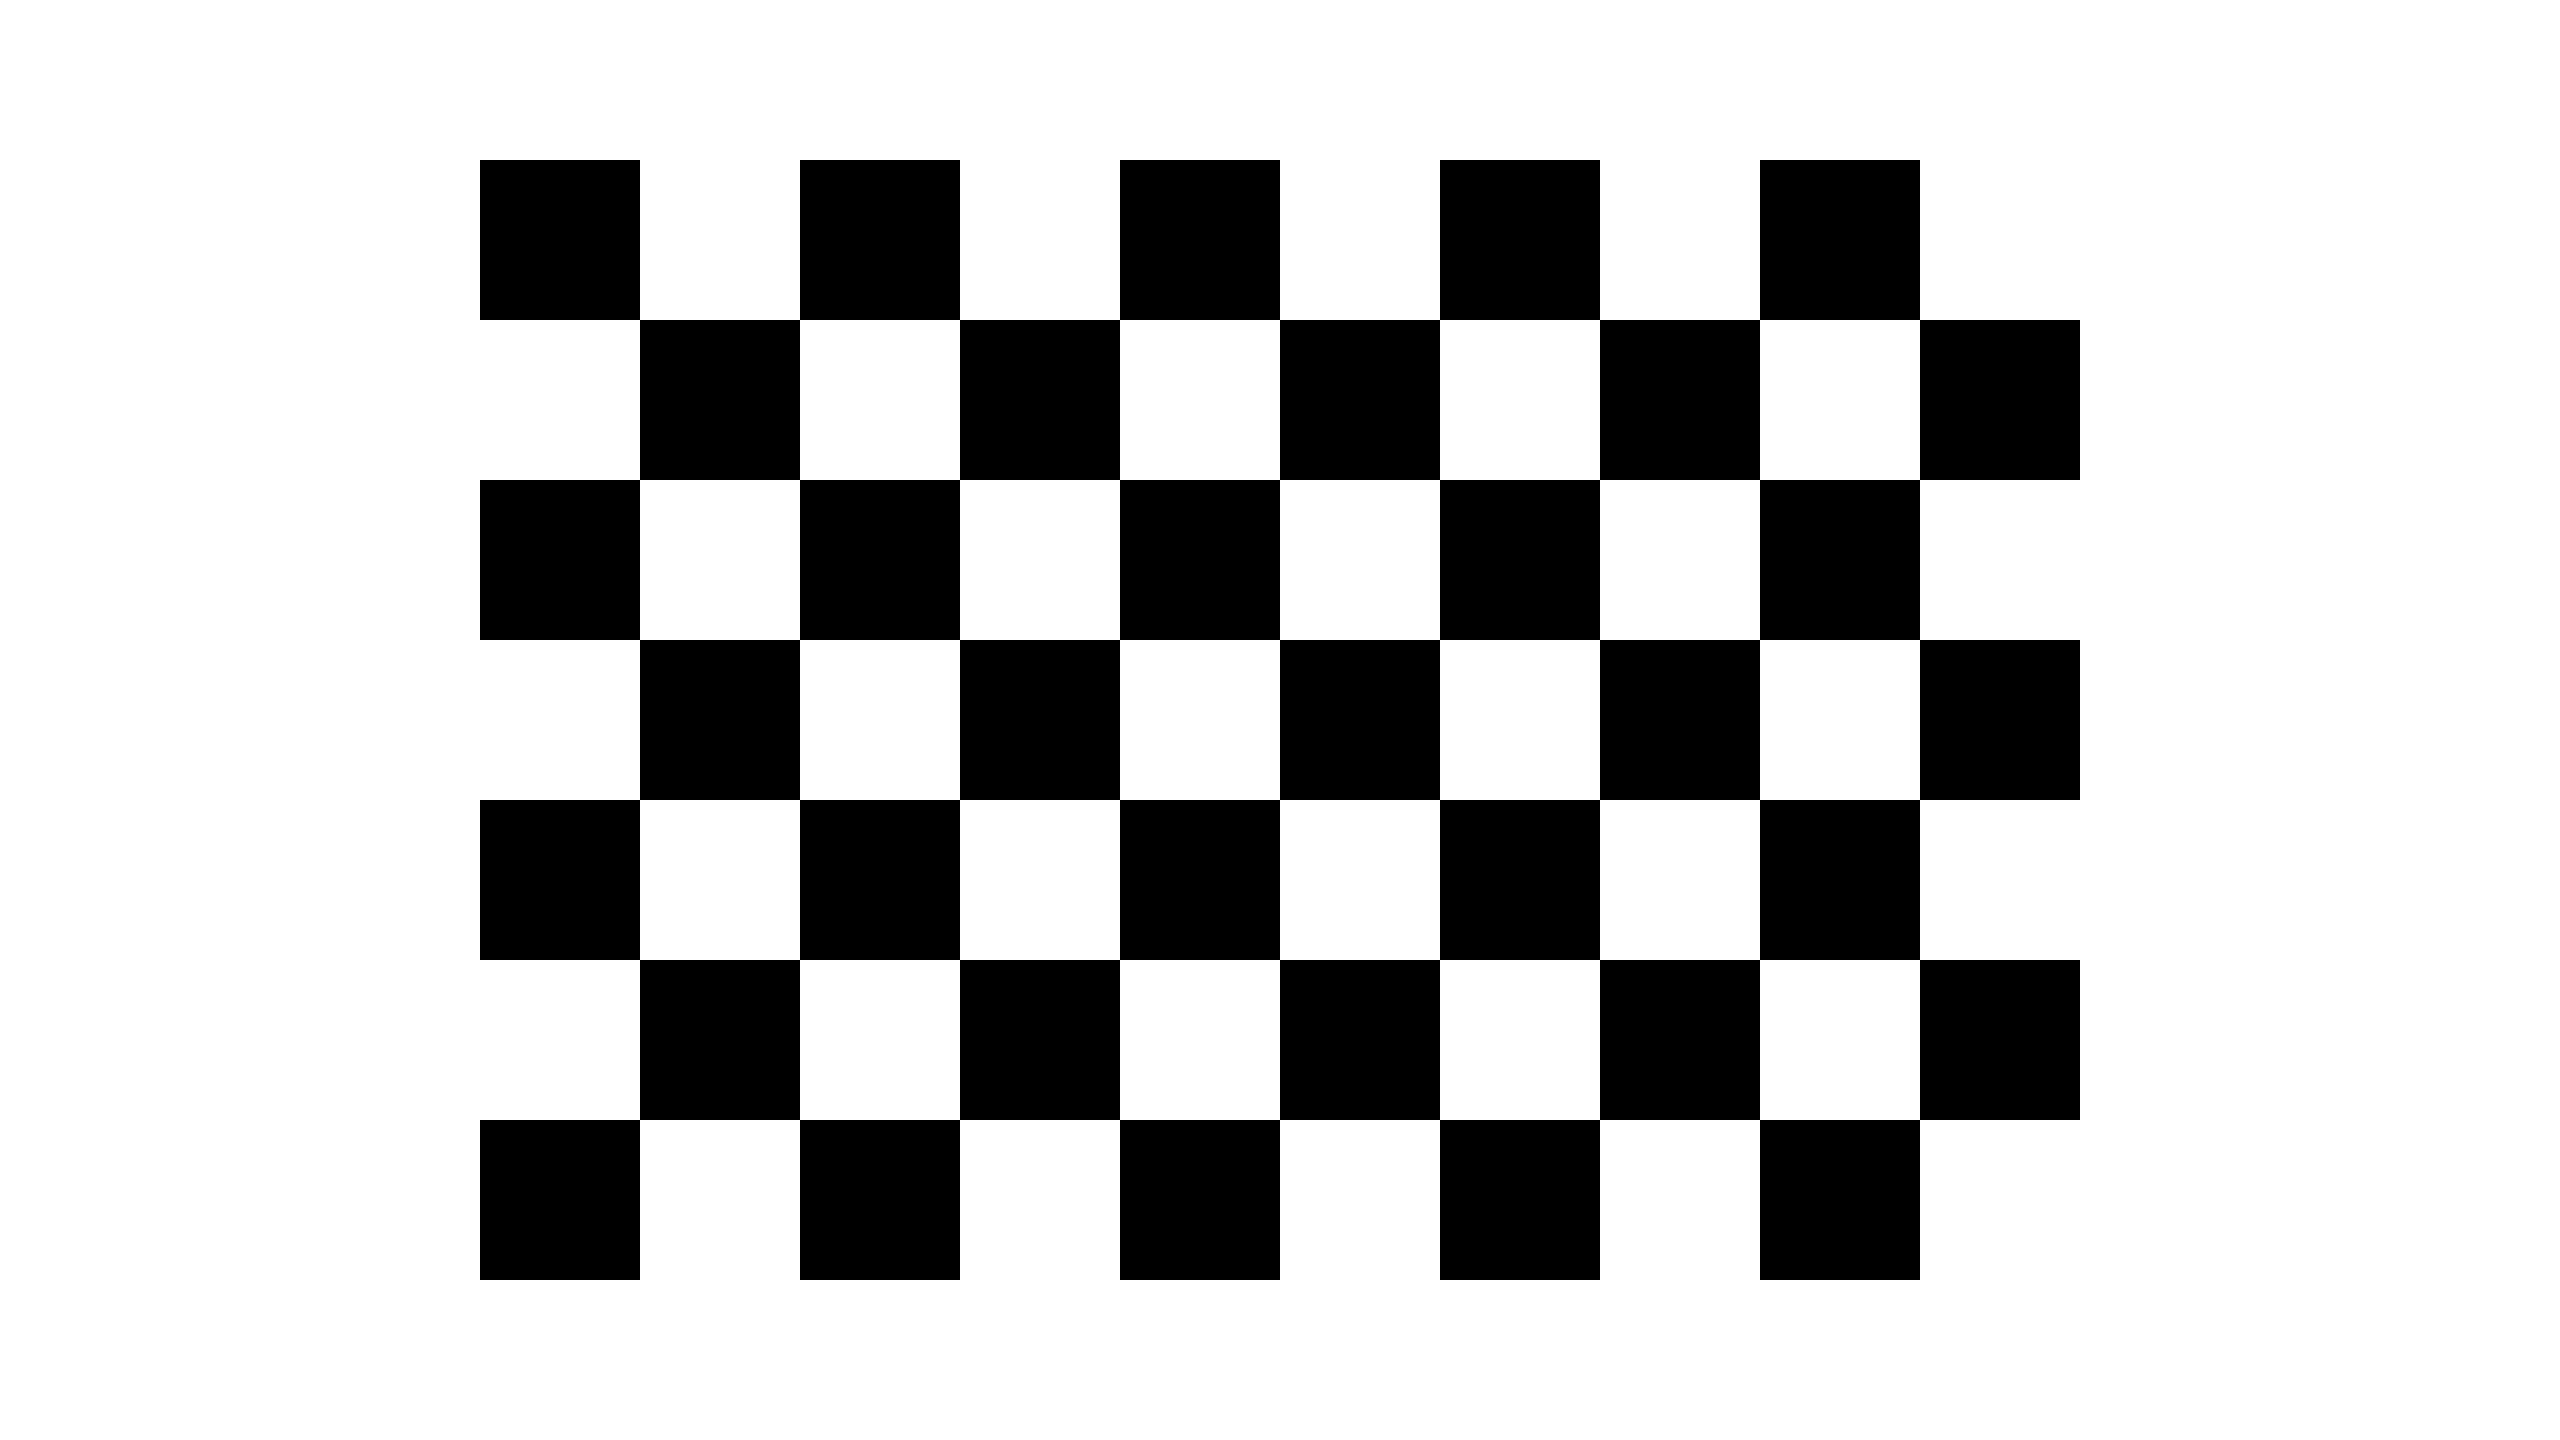
Chessboard 10 × 7 squares (9 × 6 inner corners, square 43.47 mm)
image (PNG, 30 KB) ·
MVIS config ·
Kalibr config (YAML, under 1 KB)
How to show them:
- Open the image full screen at 100 % on a 2560 × 1440 monitor.
- Use no display scaling and no zoom, so one image pixel is one screen pixel.
On our monitor 160 px (one tag, one square) measure 43.47 mm, the size in the configs. On another screen, measure one tag or square with a ruler. Put that size in the config:
- MVIS:
tag_size/square_size - Kalibr:
tagSize/rowSpacingMetersandcolSpacingMeters
Setup:
- Board upright and flat.
- Enough light for a short exposure (about 2 ms).
- Start face-on, about 0.42 m away for the AprilGrid motion (0.47 m for the chessboard).
2. Watch and practise the motion
Section titled “2. Watch and practise the motion”More detail
1 Watch it once2 Practise each move3 Follow along with your rig
Space play · ←/→ move · R repeat · F full screen · Esc exit practice
Sensor traces (gyro, accelerometer)
The fine wobble is natural hand shake; do not add it on purpose.
Pick the chip for your board. Then follow the Now panel. It:
- names the move;
- says what to do;
- counts down;
- shows what comes next.
The camera card on the right shows what the camera sees. It also shows which parts of the image are still empty.
Chessboard motion: the same four moves, built from our chessboard example. It swings less, comes in only to 0.28 m and turns only a little in the loop, so the whole board stays in view. The rules are otherwise the same, and it also passes the twin.
3. Step by step
Section titled “3. Step by step”Do four moves in order, with a short rest at each end. Blend each move into the next. Keep a comfortable hand pace: about 0.4 m/s and 1.9 rad/s at most.
| # | Move | Time | What to do |
|---|---|---|---|
| 0 | Rest | 0–3 s | Hold still in front of the board, count 3. |
| 1 | Left–right + yaw | 3–20 s | Swing left and right around the board, 2 times (about 43° each side), turning about 22° past facing it at each end so the board slides to the picture edge. Turn round sharply. |
| 2 | Up–down + pitch | 20–32 s | Move up and down, 2 times (about 33° above and below), tipping about 34° past the board so it reaches the top or bottom edge. |
| 3 | Back–forth + roll | 32–47 s | Move in to 0.22 m and out to 0.52 m, 3 times, rolling like a steering wheel up to about 65°. Hold the board off-centre so the roll carries it into the corners. |
| 4 | Loop + roll | 47–57 s | Move round a loop parallel to the board, about 40 cm across, 2 times, turning a little against the loop and rolling about 25°, so the board runs into every corner. |
| 5 | Rest | 57–60 s | Hold still, count 3. |
- Vary the speed on every sweep: push through the middle, brake into the ends.
- Keep most of the board in view. An AprilGrid may run partly off the edge; a chessboard may not.
- Don’t add shake. The natural wobble of a hand is all the motion needs.
4. Record and check
Section titled “4. Record and check”- Record the 60 s motion with your rig. 50 s also works: drop one in-out and one loop.
- Calibrate with the board config from step 1.
- Check the result, as in the camera–IMU calibration guide.
Real examples
Section titled “Real examples”Here are two hand-held recordings of our Looper Insight 9, solved with MVIS. Both pass the twin. The cards show the corners MVIS detected in each of the three cameras. They are drawn without the camera images.
More detail
Watch the path and the corners each camera detected
Space play · ←/→ move · R repeat · F full screen
Sensor traces (gyro, accelerometer)
Both move faster than the guide motion. At a comfortable pace, follow the 60 s guide.
Motions that fail
Section titled “Motions that fail”Avoid these motions. Each leaves some parameters loose: the solve cannot pin them down.
- Fast shaking from one spot, face-on: the lens distortion stays loose.
- One slow axis at a time, never pitched: lever arm (the camera–IMU position offset), time offsets and IMU scales stay loose.
- A missing rotation (no pitch, no roll, or yaw only): the matching gyro and accelerometer scales, or the whole camera–IMU rotation, cannot be found.
- The board always centred: the image edges are never seen, so the distortion stays loose.
How we judged it
Section titled “How we judged it”The twin is a simulated Looper Insight 9 in front of the board. It has realistic corner and IMU noise, motion blur and dropped detections.
Each motion is solved on 3 noise seeds plus a noise-free run. In each solve t_ga (the time offset between the gyroscope and the accelerometer) is estimated. The camera intrinsics (focal length, image centre and lens distortion) are free.
A motion is good if, on all 22 parameters:
- every solve converges;
- the error stays within its uncertainty;
- the uncertainty is at most 3× that of a well-excited 80 s reference motion.
The 22 parameters are the camera–IMU rotation, lever arm, td (the camera–IMU time offset), t_ga, gyro and accelerometer scales, and the camera intrinsics.
Replay it yourself
Section titled “Replay it yourself”Run our motions through your own simulator and calibration tool with the replay pack (zip, 3.2 MB). It holds:
- the four motions at 200 Hz (IMU pose, ideal gyro and accelerometer);
- the two twin rigs (camera, IMU, truth, noise and detection rules);
- our twin results with the pass rule.
Its README gives the frames, units and replay steps. The twin itself ran on MVIS, which is not public yet.
Licence:
- CC BY 4.0: the guide motions, rigs and their results.
- CC BY-NC 4.0: the two real-example trajectories and their results. The trajectories come from our Looper Insight 9 recordings.